ACTIVITY 1 : (HUE/SATURATION)
1. Open image > use magic wand / lasso tools / marque tools to select any area that you want > select image > adjustments > hue / saturation.
BEFORE
 AFTER
AFTER
 AFTER
AFTER

ACTIVITY 2 : (PATTERN)
1. Open image (for pattern) > crop pattern that you want from the image > select edit > define pattern.
2. Open image (to design pattern ) > select area that you want to fill the pattern (using selection tools such as marque tool / lasso tools / magic wand) > select edit > fill > insert pattern that you have created before.
BEFORE

AFTER
 BEFORE
AFTER

1. Open these 3 images > use selection tools and press delete to delete unnecessary object (for picture 1-toy story) > select image using marquee tools and move to right corner (for pic 1) > use magic wand tools to select 2nd picture and copy to picture 1 > use lasso tools for 3rd picture and copy to picture 1 > Lastly, insert text and line.
BEFORE


 AFTER
AFTER
1. Open image > select the area that you want to blur it > use blur tools and apply to the area that have been selected .
BEFORE 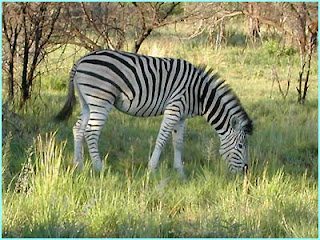 AFTER
AFTER
 BEFORE
 AFTER
AFTER
BEFORE

AFTER

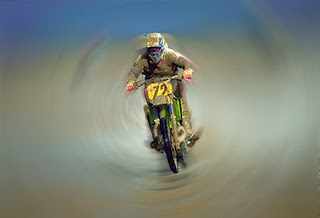
1. Open image > select filters > blur > radial blur (choose any effect)
(USING FILTER - BLUR)
BEFORE
AFTER
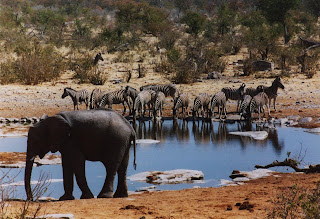
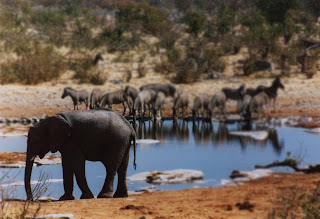
ACTIVITY 7 : (AUTO-ALIGN LAYERS)
1. Create an image stack > select file > scripts > load files into stack > select 2 images (below)
2. Click one of the layer and shift click on other layer to select > choose edit > auto-align layers (in the dialog, choose auto.
3. Choose edit > auto-blend layers > select crop tool to crop uneven edges.
 AFTER
AFTER BEFORE
 AFTER
AFTER
ACTIVITY 5 : (CLONE STAMP)
1. Open image > use clone stamp tool > Insert clone stamp tool icon at the top of picture that you want to clone and hold press ALT and click > choose empty area of the same image and begin click to draw the clone picture.
BEFORE
 AFTER
AFTER

1. Open image > use clone stamp tool > Insert clone stamp tool icon at the top of picture that you want to clone and hold press ALT and click > choose empty area of the same image and begin click to draw the clone picture.
BEFORE
 AFTER
AFTER
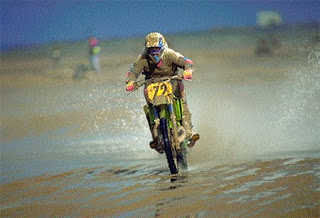
ACTIVITY 6 : (FILTERS)
1. Open image > select filters > artistic > colored pencil (choose any effect)
BEFORE
AFTER

1. Open image > select filters > blur > radial blur (choose any effect)
(USING FILTER - BLUR)
BEFORE

AFTER

ACTIVITY 7 : (AUTO-ALIGN LAYERS)
1. Create an image stack > select file > scripts > load files into stack > select 2 images (below)
2. Click one of the layer and shift click on other layer to select > choose edit > auto-align layers (in the dialog, choose auto.
3. Choose edit > auto-blend layers > select crop tool to crop uneven edges.
BEFORE


AFTER


AFTER

No comments:
Post a Comment